Ever gazed out your window only to be greeted by smudges and streaks? It’s frustrating, right?
Clean windows don’t just let the sunshine in; they brighten up your entire home, giving you a clear view of the world outside.
Here in Adelaide, with its mix of coastal breezes and urban dust, keeping your windows spotless can be a real challenge.
But don’t worry, we’ve got you covered. This guide is packed with practical, easy-to-follow tips for window cleaning window cleaning that will make your windows sparkle, no matter the season.
Whether you’re dealing with spring pollen or winter’s salt residue, our step-by-step advice will have your windows looking professionally cleaned without breaking the bank.
Ready to dive into the world of window cleaning window cleaning? Let’s get those windows gleaming!
DIY Window Cleaning Solutions
Let’s start with some DIY magic. You don’t need expensive commercial cleaners when you have these simple, effective recipes at your fingertips.
Plus, they’re all eco-friendly and safe for your family and pets.
Homemade Recipes
Vinegar and Dish Soap:
- Ingredients: 1 part white vinegar, 1 part water, a few drops of dish soap.
- Instructions: Mix them in a spray bottle, shake gently, and you’re ready to clean. Vinegar cuts through grease and grime, while dish soap tackles stubborn dirt.
Lemon Juice and Baking Soda:
- Ingredients: Juice of 1 lemon, 2 tablespoons baking soda, 1 cup water.
- Instructions: Combine the ingredients in a bowl and stir until the baking soda dissolves. This mix is great for removing tough stains and leaving a fresh scent.
Cornstarch and White Vinegar:
- Ingredients: 1 tablespoon cornstarch, 1 cup white vinegar, 1 cup water.
- Instructions: Mix in a spray bottle and shake well before use. Cornstarch adds a gentle abrasive to the solution, perfect for extra sparkle.
The Science Behind the Ingredients
- Vinegar: Its acidic nature breaks down streak-causing films and disinfects surfaces.
- Dish Soap: Cuts through oils and grease, helping to lift grime.
- Lemon Juice: Naturally antibacterial and leaves a pleasant, fresh scent.
- Baking Soda: Mild abrasive that removes stubborn stains and neutralizes odours.
- Cornstarch: Acts as a gentle scrubber, enhancing the cleaning power of vinegar.
By understanding how these ingredients work, you can choose the best solution for your specific needs. Plus, it’s satisfying to know you’re using natural, safe products in your home.
Step-by-Step Cleaning Guide
Now that you have your DIY cleaning solutions ready, it’s time to put them to work. Follow this detailed step-by-step guide to ensure your windows are crystal clear, with no streaks in sight.
Preparation
Gather Your Materials:
- Cleaning solution (choose your favourite from above)
- Spray bottle
- Squeegee
- Microfiber cloths
- Bucket of clean water
- Sponge
- Old toothbrush (for hard-to-reach spots)
- Ladder (if necessary)
Choose the Right Time:
- Aim to clean on a cloudy day. Direct sunlight can cause the cleaning solution to dry too quickly, leaving streaks.
Cleaning Process
Remove Dust and Dirt:
- Start by brushing off dust and cobwebs with a dry microfiber cloth or a soft brush. This prevents dirt from turning into grime when wet.
Spray and Wipe:
- Spray your chosen cleaning solution generously on the window.
- Use a microfiber cloth or sponge to wipe in a circular motion, covering the entire surface. Pay extra attention to corners and edges where dirt accumulates.
Squeegee Time:
- Position the squeegee at the top of the window, at a slight angle.
- Pull down in a straight line, wiping the blade with a clean cloth after each stroke. This prevents streaks and ensures a flawless finish.
Detail the Edges:
- Use the old toothbrush to clean any stubborn spots in corners and edges.
- Wipe the window frame and sill with a damp cloth to remove any remaining solution or dirt.
Final Polish:
- Buff the glass with a dry microfiber cloth for that extra sparkle. Make sure to use a different cloth from the one used for initial cleaning.
Tips for Different Window Types
Double-Hung Windows:
- Clean the top sash first, then the bottom. This avoids drips on the freshly cleaned lower sash.
Casement Windows:
- Open the window fully to access both sides easily. Clean the hinges and tracks to ensure smooth operation.
Picture Windows:
- These large windows can be intimidating. Break the job into sections, cleaning one part at a time to maintain control and avoid streaks.
By breaking down the process into these manageable steps and using the right techniques, you’ll achieve professional-level results every time.

Professional Tips and Tools
Want to take your window cleaning to the next level? Here are some pro tips and must-have tools that will make your windows shine like never before.
Essential Tools
Squeegees:
- A high-quality squeegee is a game-changer. Look for one with a rubber blade and a comfortable handle. The rubber blade ensures a streak-free finish, while the handle gives you good control.
Microfiber Cloths:
- These are perfect for cleaning and polishing. They’re gentle on glass and great at picking up dust and dirt without leaving lint behind.
Extension Poles:
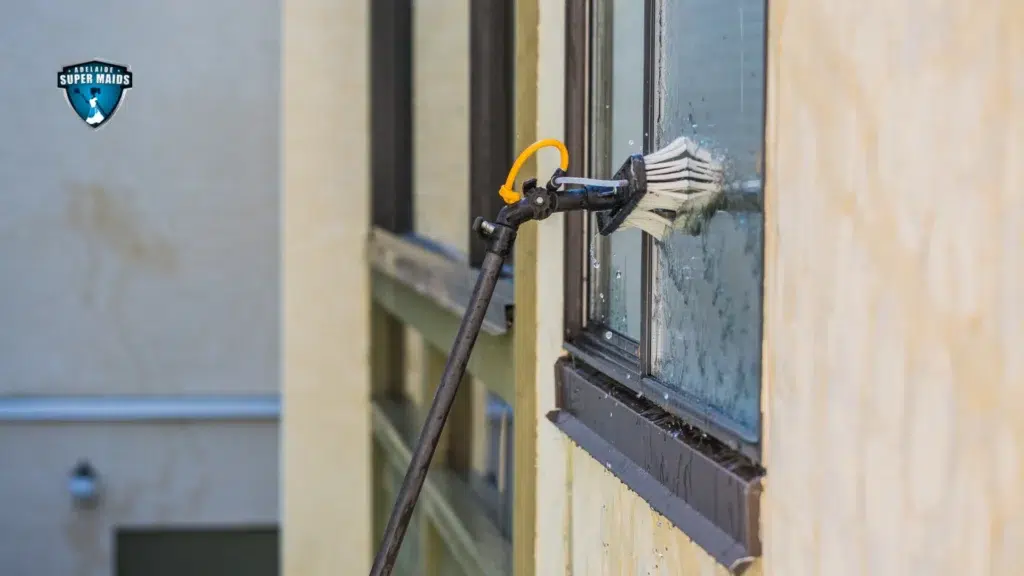
- For those hard-to-reach windows, an extension pole is essential. It allows you to clean high windows safely from the ground.
Bucket with Dividers:
- A bucket with dividers lets you keep your cleaning solution separate from your rinse water. This helps you avoid spreading dirt back onto the glass.
Proper Techniques
The Squeegee Swipe:
- Mastering the squeegee technique is key. Start at the top corner and pull the squeegee down in a straight line. Wipe the blade with a cloth after each swipe. Overlap your strokes slightly to ensure no spots are missed.
Circular Wiping:
- When using a cloth or sponge, wipe in small circular motions. This helps to break up dirt and grime more effectively than straight wiping.
Avoid Over-Spraying:
- Use just enough cleaning solution to cover the window. Too much solution can drip and cause streaks.
Two-Phase Cleaning:
- For particularly dirty windows, do an initial clean with soapy water to remove the bulk of the grime. Then, follow up with your vinegar solution for a final polish.
Maintaining Your Tools
Cleaning the Squeegee:
- After each use, clean your squeegee blade with soapy water and let it dry completely. This prevents residue build-up and prolongs the life of the blade.
Washing Microfiber Cloths:
- Wash microfiber cloths in the washing machine without fabric softener. Air-dry them to maintain their effectiveness.
Storing Tools Properly:
- Store your cleaning tools in a dry, clean place. This prevents mildew and keeps them ready for the next cleaning session.
Bonus Tips for Streak-Free Windows
Use Distilled Water:
- If you have hard water, consider using distilled water for your cleaning solution. Hard water can leave mineral deposits on the glass.
Work Fast, but Thoroughly:
- Don’t let the cleaning solution dry on the window. Clean small sections at a time, and wipe or squeegee before it dries.
Check Your Work:
- After cleaning, inspect the windows from different angles to catch any missed spots or streaks. Buff out any imperfections with a dry microfiber cloth.
By incorporating these professional tips and using the right tools, your windows will not only be clean but gleaming.
Comprehensive Window Maintenance
Want to take your window cleaning to the next level? Here are some pro tips and must-have tools that will make your windows shine like never before.
Cleaning the glass is just one part of keeping your windows in pristine condition. Regular maintenance of the entire window, including screens, sills, and frames, ensures longevity and functionality.
Here’s how to keep every part of your window looking and working great.
Beyond Cleaning: Window Screens, Sills, and Frames
Cleaning Window Screens:
- Remove the Screens: Carefully take out the screens from the windows.
- Wash with Soapy Water: Use a mild detergent and water to scrub the screens with a soft brush. Rinse thoroughly with a hose and let them dry completely before reinstalling.
- Tackle Tough Stains: For stubborn dirt, a mixture of vinegar and water can help. Spray it on, let it sit for a few minutes, and then scrub gently.
Cleaning Window Sills:
- Dust and Debris Removal: Use a vacuum with a brush attachment to remove loose dirt and dust.
- Wipe Down: Dampen a cloth with soapy water and wipe the sills. For tougher grime, a mixture of vinegar and water works wonders.
- Mold and Mildew: For mould or mildew, use a mixture of one part bleach to ten parts water. Apply with caution, and ensure good ventilation.
Cleaning Window Frames:
- Wipe with Soapy Water: Use a soft cloth or sponge dipped in soapy water to clean the frames. Rinse with a damp cloth to remove any soap residue.
- Tackle Rust: If you find rust on metal frames, use a paste made of baking soda and water to scrub it away. For severe rust, a commercial rust remover might be necessary.
- Wooden Frames: For wooden frames, ensure they are sealed properly to prevent water damage. Use a wood cleaner and polish to keep them looking good and protected.
Dealing with Common Issues
Rust Removal:
- Baking Soda Paste: Make a paste of baking soda and water. Apply to the rusted area, let it sit for a few minutes, and then scrub with a brush.
- Commercial Rust Removers: For tougher rust, use a commercial product designed for rust removal. Follow the instructions carefully.
Mold and Mildew:
- Bleach Solution: Use a bleach solution (one part bleach to ten parts water) to clean mould and mildew from sills and frames. Ensure proper ventilation while using bleach.
- Preventative Measures: Keep windows dry and ensure proper ventilation to prevent mould and mildew buildup. Use a dehumidifier if necessary.
Seal and Insulate:
- Check Seals Regularly: Inspect window seals for cracks or gaps. Use weatherstripping to seal any gaps and prevent drafts.
- Insulate Windows: In colder months, use insulating film on windows to reduce heat loss and prevent condensation.
Maintaining Window Hardware
Lubricate Moving Parts:
- Hinges and Tracks: Apply a silicone-based lubricant to window hinges and tracks to keep them moving smoothly.
- Locks and Latches: Ensure locks and latches are functioning properly. Lubricate as needed and tighten any loose screws.
Check for Damage:
- Regular Inspections: Periodically inspect windows for any signs of damage. Address issues promptly to prevent further deterioration.
By taking care of your windows beyond just cleaning the glass, you’ll extend their lifespan and maintain their functionality.

Professional Window Cleaning Services in Adelaide
While DIY window cleaning can be rewarding, sometimes you need a little extra help to achieve that perfect, streak-free shine. That’s where we come in!
Professional Window Cleaning Services in Adelaide
If you’re in Adelaide and looking for top-notch window cleaning, Adelaide Super Maids has got you covered.
Our team of experienced professionals uses the latest tools and techniques to ensure your windows are spotless and gleaming.
Why Choose Adelaide Super Maids?
Expertise and Experience:
- Our skilled cleaners have years of experience and know all the tricks to make your windows shine.
High-Quality Tools and Products:
- We use professional-grade equipment and eco-friendly cleaning solutions that are safe for your family and pets.
Comprehensive Service:
- We don’t just clean the glass. We also take care of your screens, sills, and frames, ensuring every part of your window looks its best.
Convenience:
- No need to worry about ladders or hard-to-reach places. We handle everything, from the ground floor to high-rise windows.
Satisfaction Guaranteed:
- We stand by our work. If you’re not completely satisfied with our service, we’ll make it right.
Visit our website Window Cleaning Adelaide to book your appointment today.
Don’t let dirty windows obscure your view.
Let the professionals at Adelaide Super Maids bring the shine back to your windows, so you can enjoy a clearer, brighter home.


