
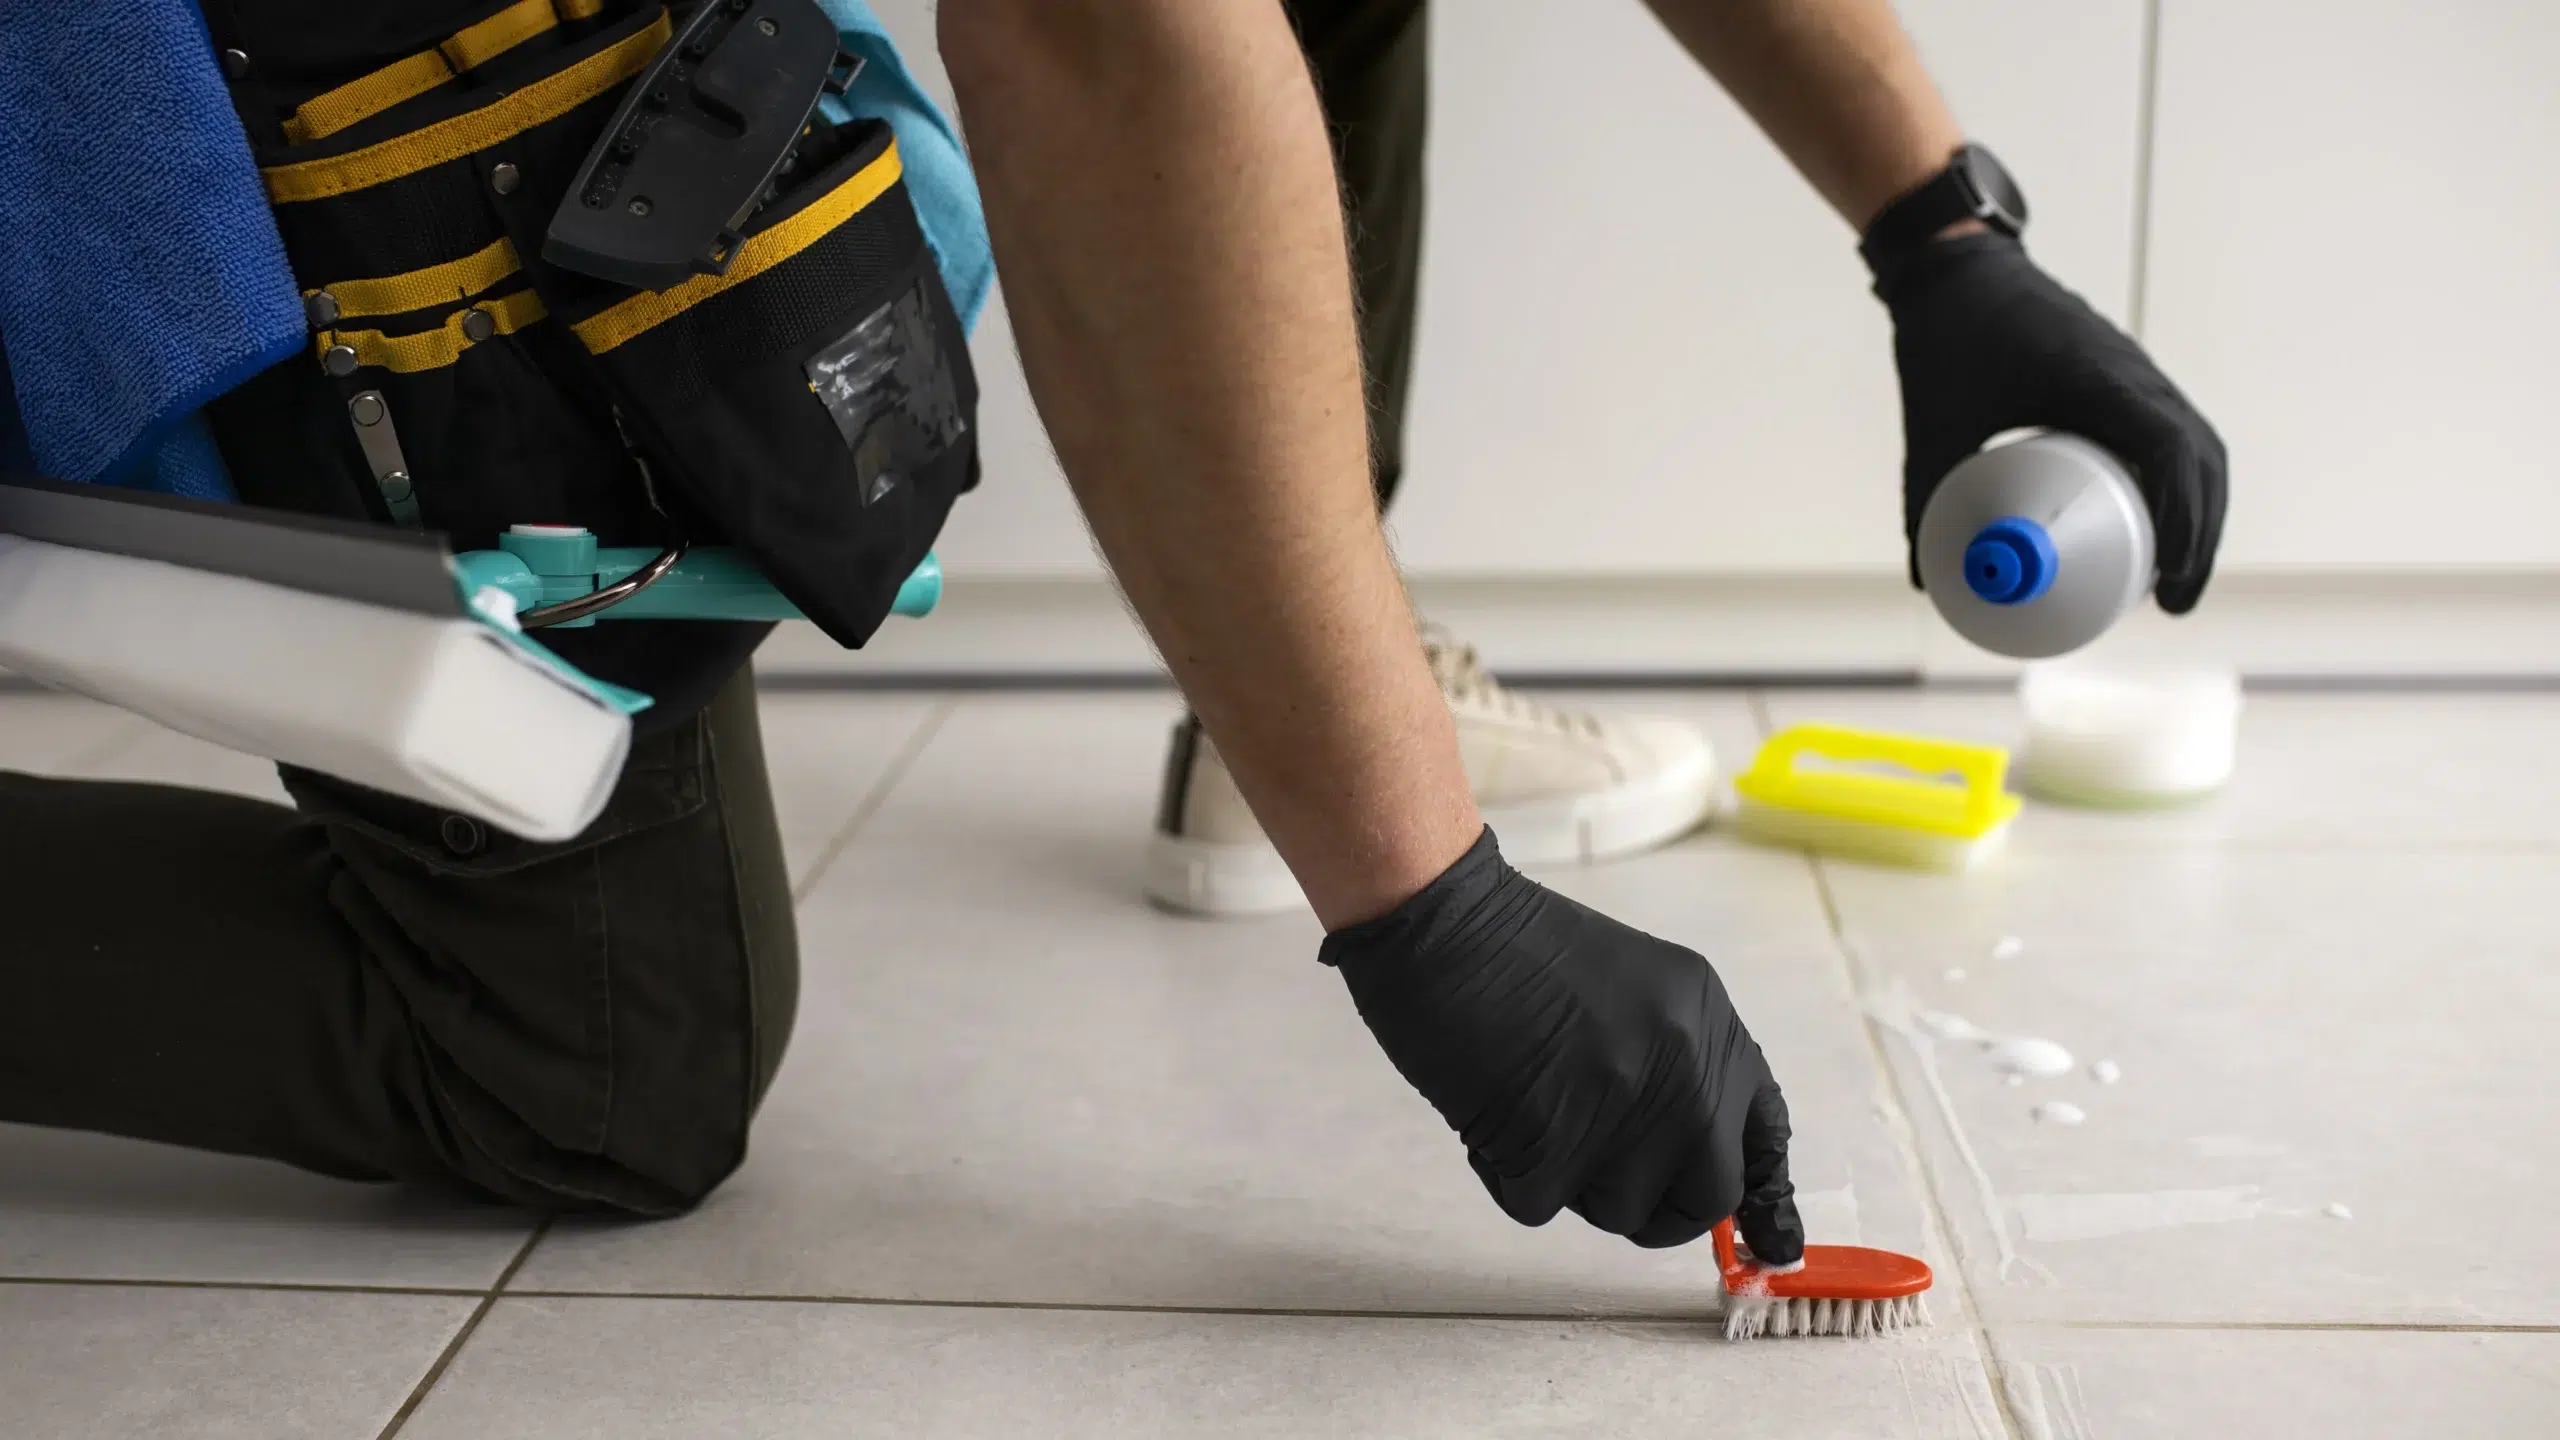
Learn how to clean tile grout safely and effectively in bathrooms, kitchens and tiled floors—with practical methods for everyday soil, soap scum, grease, discolouration and stubborn build-up.
Quick Answer: What Is the Best Way to Clean Grout Lines?
For most sealed ceramic or porcelain tiles, start with warm water and a pH-neutral tile cleaner. Apply it to the grout lines, allow the label’s recommended dwell time, scrub gently with a nylon grout brush, rinse with clean water and dry with a microfibre cloth. Repeat once if required. Always identify the tile and grout type, test a hidden spot, and follow the product label before cleaning a larger area.
Avoid metal brushes, uncontrolled high pressure and random chemical combinations. Do not use vinegar or other acidic cleaners on natural stone, and never mix bleach with vinegar, ammonia or any other cleaner.
Before Cleaning Grout: Identify the Surface First
Grout is porous unless it has been properly sealed, so dirt and cleaning residue can settle below the surface. The safest method depends on whether you have cement-based grout, epoxy grout, coloured grout, cracked grout or a natural-stone installation. A product that is acceptable for glazed ceramic tile may etch marble, limestone or travertine.
Tools to gather
- Vacuum or soft broom
- pH-neutral tile cleaner
- Nylon grout brush or soft toothbrush
- Two buckets: cleaning solution and rinse water
- Microfibre cloths or a clean mop
- Gloves and eye protection where the label requires them
Check before you start
- Read the tile and cleaner manufacturer’s instructions.
- Test an inconspicuous area and let it dry completely.
- Check for loose tiles, failed sealant and crumbling grout.
- Keep children and pets away from the work area.
- Open a window or use the exhaust fan for ventilation.
Critical chemical-safety rule: never mix bleach with vinegar, ammonia, acids or another cleaning product. Dangerous gases can be released. Use one product at a time, follow its label and rinse the surface before changing products. If exposure or poisoning is suspected in Australia, call the Poisons Information Centre on 13 11 26; call 000 if someone is unconscious or not breathing.
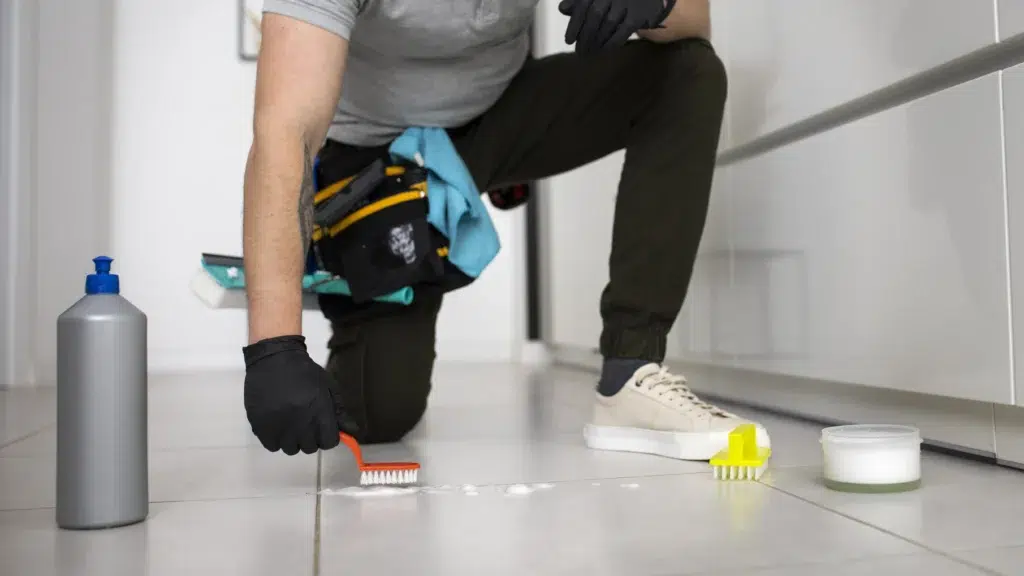
How to Clean Tile Grout Step by Step
This is the core method for anyone asking how to clean grout lines without immediately reaching for harsh chemicals. It works as a starting point for most sound, sealed ceramic and porcelain installations.
- Remove loose soil. Vacuum or sweep the tiles thoroughly. Pay attention to edges and corners so dry grit does not turn into muddy residue during wet cleaning.
- Prepare the cleaner correctly. Dilute a pH-neutral tile and grout product exactly as its label directs. More concentrate is not automatically more effective and can leave residue.
- Pre-wet where appropriate. Lightly dampen cement grout with clean water so it is less likely to absorb too much solution. Do not flood damaged or unsealed areas.
- Apply in a manageable section. Work over roughly one to two square metres at a time. Keep the cleaning solution from drying on the surface.
- Allow the specified dwell time. Give the product time to loosen soil, but follow the label and never let it dry.
- Agitate the grout lines. Scrub with a nylon grout brush using short back-and-forth strokes. Avoid wire brushes because they may scratch tile and erode grout.
- Lift the dirty solution. Wipe it up with clean microfibre cloths or extract it with suitable wet-cleaning equipment. Do not spread grey water into the next section.
- Rinse thoroughly. Use clean water and change it frequently. Remaining detergent attracts dirt and can make freshly cleaned tile look dull.
- Dry and inspect. Dry the surface, then assess the result after the grout is fully dry. Wet grout naturally appears darker, so judging it too early can lead to unnecessary repeat cleaning.
If the first pass improves the grout but does not finish the job, repeat the same controlled process once before moving to a stronger, compatible product. When learning how to clean grout on tiles—or searching for how to clean grout in tiles—progressive cleaning is safer than starting with the harshest option.
Cleaning Grout Floor Tiles Without Spreading Dirty Water
The biggest challenge when cleaning grout floor tiles is managing the contaminated solution. If you want to know how to clean grout lines across a whole floor, remember that a large mop can move loosened soil from one joint to another. Divide the room into sections, use a detail brush, and replace rinse water as soon as it becomes cloudy.
For effective cleaning floor tile grout, vacuum first, clean from the farthest corner toward the exit, and keep separate tools for applying solution and collecting it. High-traffic entryways and kitchen walkways may need a second pass. Avoid soaking cracked grout or allowing water to migrate under loose tiles.
| Floor condition | Recommended starting approach | What to avoid |
|---|---|---|
| Light surface soil | Warm water, pH-neutral cleaner and a nylon brush | Over-concentrated detergent |
| Greasy kitchen build-up | Tile-compatible alkaline/degreasing cleaner used to label directions | Mixing products or skipping the rinse |
| Natural stone floor | Stone-specific, pH-neutral product | Vinegar, lemon and acidic descalers |
| Cracked or crumbling grout | Assessment and repair before wet cleaning | Flooding, steam or high pressure |
How to Clean Tile Grout in a Bathroom
To clean tile grout bathroom surfaces properly, first distinguish ordinary dirt and soap residue from mould, failed silicone or permanent discolouration. Start with a bathroom product confirmed as suitable for your tile and grout. Apply, allow the labelled contact time, agitate with a nylon brush, rinse and dry.
When cleaning bathroom grout, concentrate on shower corners, the base of the screen, niches and areas that stay wet. An exhaust fan, squeegee and open shower door can reduce the moisture that supports recurring growth. Black marks beneath transparent silicone usually cannot be scrubbed away from the surface; deteriorated sealant may need safe removal and replacement after the underlying area is dry.
About mould: a small surface patch is different from recurring, widespread or hidden moisture damage. If mould returns quickly, covers a large area, follows a leak, or affects a person with health concerns, investigate the moisture source and seek appropriately qualified advice rather than repeatedly bleaching the visible mark.

Choose a Method for the Type of Grout Stain
Not every dark line is the same problem. Correct diagnosis makes cleaning grout more effective and reduces unnecessary chemical exposure.
| What you see | Likely cause | Next step |
|---|---|---|
| Grey or brown traffic lines | Tracked-in soil and detergent residue | Neutral clean, brush, extract or wipe, then rinse well |
| Sticky kitchen grout | Oil and cooking residue | Use a compatible degreasing product according to its label |
| White crust near taps or shower glass | Mineral scale or product residue | Confirm tile type before using a compatible scale remover; never use acid on acid-sensitive stone |
| Pink or orange film in a shower | Moist organic build-up | Clean with a suitable bathroom product, rinse, dry and improve ventilation |
| Black spotting that returns | Persistent moisture or growth in porous grout/sealant | Address ventilation or leaks; assess whether grout or sealant requires replacement |
| Uneven colour with no removable soil | Wear, staining, old sealer or grout colour variation | Request an inspection; cleaning cannot reverse every material change |
Can You Use Baking Soda, Vinegar, Peroxide or Bleach?
Baking soda
A mild paste may help with surface soil on some durable tiles, but abrasive scrubbing can affect polished finishes. Test first, use gentle pressure and rinse all residue.
White vinegar
Vinegar is acidic. It can damage marble, limestone, travertine and other acid-sensitive surfaces, and repeated use may affect cement-based grout. A suitable pH-neutral product is the safer default.
Hydrogen peroxide
Some formulated grout products use peroxide, but concentration and compatibility matter. Follow a purpose-made product label, ventilate and patch-test coloured grout.
Chlorine bleach
Bleach is not a universal tile cleaner and may discolour materials or affect surrounding finishes. Only use it when the product and surface instructions allow it. Never mix it with any other cleaner.
How to Clean Grout Professionally
People searching for how to clean grout professionally are often dealing with a larger area, ingrained traffic soil or inconsistent DIY results. A professional process should begin with inspection—not a one-product-fits-all treatment.
- Inspect and identify. Confirm the tile, grout, sealers, existing damage and likely soil type.
- Protect adjacent areas. Manage furniture, skirting, metal trims and nearby surfaces that may react with the chosen product.
- Dry-soil removal. Vacuum thoroughly before applying moisture.
- Select and test chemistry. Choose a product suited to both surface and soil, then test a hidden area.
- Controlled application and agitation. Apply evenly, observe dwell time and mechanically agitate without damaging the grout.
- Recover suspended soil. Extract or collect the dirty solution rather than redistributing it.
- Rinse, dry and evaluate. Neutralise or rinse as the product requires, accelerate drying and reassess once dry.
- Discuss sealing where suitable. After complete drying, a compatible penetrating sealer may make future maintenance easier, but it does not make grout stain-proof.
Professional equipment can improve agitation and soil recovery, but results still depend on the grout’s age, porosity, previous coatings and damage. Ethical guidance should distinguish removable soil from permanent staining and damaged grout before promising an outcome.
How to Keep Tile Grout Cleaner for Longer
- Remove loose grit regularly: vacuum or sweep before it becomes embedded in floor grout.
- Use less residue: measure cleaning concentrate and rinse when the label instructs.
- Wipe spills promptly: especially oils, strongly coloured liquids and soil near entrances.
- Dry bathroom surfaces: use a squeegee, exhaust fan and airflow after showering.
- Wash cleaning tools: a dirty mop re-deposits soil into low grout lines.
- Repair failures early: cracked grout and failed sealant can allow moisture to enter areas cleaning cannot reach.
- Consider compatible sealing: follow grout and sealer manufacturer instructions and allow adequate drying and curing time.
When DIY Cleaning Is Not the Right Next Step
Knowing how to clean grout lines also means knowing when to stop. Seek advice if the tile is natural stone and you cannot identify it, grout is loose or powdery, tiles sound hollow or move, water appears beneath the flooring, a previous coating is peeling, or mould keeps returning after moisture control. Cleaning can improve soil and some staining, but it cannot repair failed grout, replace damaged silicone or resolve a hidden leak.
For a tailored assessment in Adelaide, view our professional tile and grout cleaning service. You can also book online or call 0451 787 887.
Frequently Asked Questions About Cleaning Grout
How do you clean grout lines effectively?
Vacuum first, apply a compatible pH-neutral tile cleaner, allow the labelled dwell time, scrub with a nylon grout brush, collect the dirty solution, rinse with clean water and dry. Test a hidden spot before treating the whole area.
How do you clean tile grout without damaging it
Identify the tile and grout type, begin with the least aggressive compatible method, avoid metal brushes, measure products correctly and do not let cleaner dry on the surface. Natural stone requires a stone-safe product.
How do you clean grout on tiles in a shower?
Use a bathroom cleaner approved for the tile and grout, work in small sections, gently agitate, rinse well and dry. Also improve airflow and address leaks or failed silicone if dark marks quickly return.
What is the difference between cleaning grout on tiles and cleaning grout in tiles?
They describe the same task: removing soil from the recessed grout joints between tiles. The correct method is determined by the tile material, grout condition and type of contamination.
What is the safest homemade grout cleaner?
Warm water and a small amount of compatible pH-neutral detergent are a cautious starting point for many sealed ceramic or porcelain surfaces. Homemade acidic or abrasive mixtures are not safe for every tile, so test first and follow the surface manufacturer’s advice.
Can vinegar damage tile grout?
Vinegar is acidic and can damage acid-sensitive stone such as marble, limestone and travertine. Repeated use may also affect cement-based grout. Use a surface-specific pH-neutral cleaner as the safer default.
Can I mix baking soda and bleach for grout?
Do not mix household cleaning products unless a product manufacturer explicitly instructs it. Never mix bleach with vinegar, ammonia, acids or other cleaners because hazardous gases may be released.
Why does grout still look dark after cleaning?
Grout looks darker while wet. Let it dry completely before assessing it. If the colour remains uneven, the cause may be deeply absorbed staining, worn sealer, mould, previous products or permanent material change.
How often should bathroom grout be cleaned?
Light maintenance is usually most effective when done regularly, before soap residue and moisture build up. The appropriate interval depends on shower use, ventilation, water quality, grout type and whether the area is sealed.
Does steam cleaning grout work?
Steam can loosen some soil on suitable, sound surfaces, but it is not appropriate for every tile, sealer or damaged grout joint. Follow the equipment and flooring manufacturer’s instructions and avoid steaming cracked or loose installations.
Should grout be sealed after cleaning?
Some porous cement-based grout may benefit from a compatible penetrating sealer after it is completely clean and dry. Epoxy grout and some other materials may not require the same treatment. Follow the grout and sealer instructions.
When should I hire a professional grout cleaner?
Consider professional help for large areas, ingrained soil, unknown surfaces, persistent discolouration or when DIY cleaning leaves uneven results. Damaged grout, loose tiles or suspected leaks may require a tiler or another qualified trade rather than cleaning alone.
Safety and Editorial Notes
This guide is general cleaning information, not a substitute for the instructions supplied by your tile, grout, sealer, cleaning-product or equipment manufacturer. Surface compatibility and existing damage can change the appropriate method.
Safety references: SA Health poisoning prevention and Healthdirect poisoning guidance.